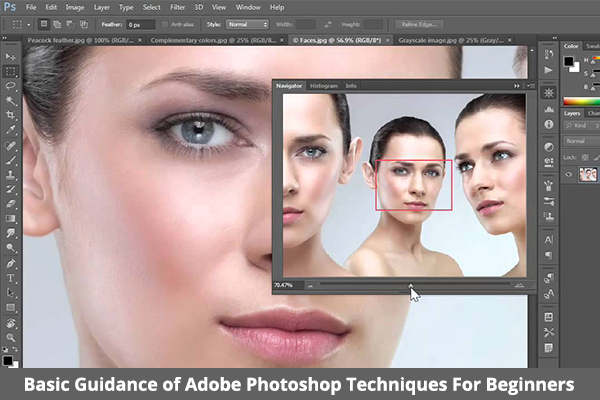
Photoshop is the most powerful photo editing adobe software and good choice for animators and designers, having a great variety of tool to create astonishing graphics and making the image look amazing. This blog post trains you the basic photoshop techniques for learners. If you are beginner then its take time and guidance to even learn the basics photoshop techniques. Below we introduce you to the photoshop work area and shows you how to open and save your images, zoom in and zoom out, and undo the mistakes.
Click on below Video: Basics of Photoshop
Learn the Basics of Photoshop Techniques
1. Open images – To open and create images
In the menu bar, Select File > Open – to open existing images.
In the menu bar, Select File > New – to create a new image from scratch. Select a document preset. Customize the preset by typing in the values like height and width.
2. Get familiar with the Work Area – The Interface
1. Menu Bar
Display the File, Image, Edit and other menus that give you access to a variety of commands, panels and adjustments.
2. Options Bar – Under the Menu Bar
Shows the options for the tool you are currently working with.
3. Tools Panel – Left Side
Contains tools for creating artwork and images editing. Similar tools are classified together. You can access similar tools in a group by clicking and holding a tool in the panel.
4. Panels – Right Side
Include Layers, Color, Properties and other panels that contain a variety of controls for working with images. You can find the complete list of panels under the window menu.
5. Document Window – Middle Side
Displays the file you are currently operating on. Multiple open documents display in tabs in the Document window.
Close the Image: Choose File > Close.
3. Learn How to Zoom and Pan
Change the view of an image – To zoom in and Zoom out and pan around
1. The Zoom tool is placed in the Tools panel. Change from Zoom Into Out in the options bar.
2. The Hand tool also placed in the Tools panel, allows you to pan around a large or zoomed-in image.
4. Undo a Command
Undo single step or multiple steps and use the History panel.
1. To undo the last work you did, Select Edit > Undo or press Control+Z (Windows) or Command+Z (macOS).
2. To redo the previous action you did, select Edit > Redo or again press Control+Z (Windows) or Command+Z (macOS).
To undo multiple times, Select edit > Step backwards multiple times or choose an action in the history panel.
Click on below Video: 10 Things Photoshop Beginners want to Know
5. Save Work
Use the Save commands – To save an image
Choose File > Save As.
Saving in Photoshop format (.psd) retain layers, type and other editable Photoshop properties. It’s best to save the image in PSD format.
Saving in PNG (.png) or JPEG (.jpg) format will save as a standard image file that can be opened, shared by other programs and posted online. When you are finished with editing, save a copy in one of these formats too.
For students who are interested to learn more onbasic of photoshop techniques in vadodara and would like to experience and practice on a more professional level, please sign up today for our Arena Sayajigunj Animation Courses.
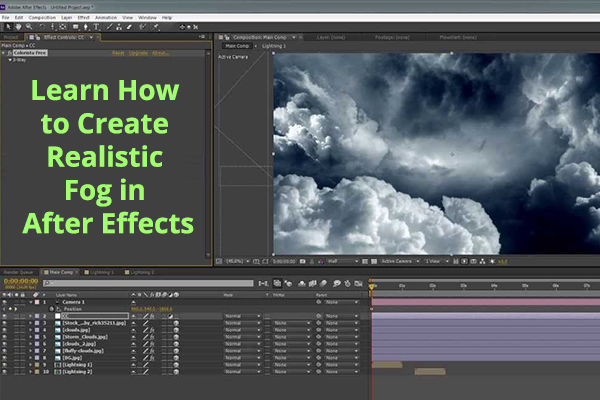
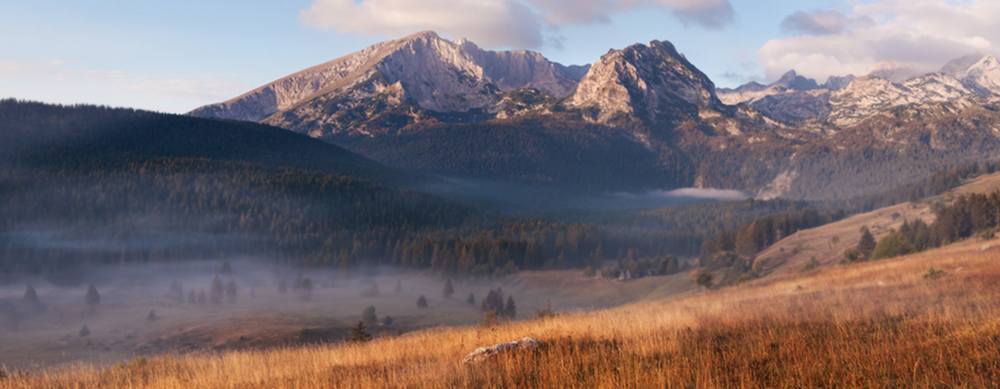
When it comes to creating a fog effect you actually have a lot of options in after effects and are a great place to begin. Let’s get started with six easy steps to create incredibly realistic fog in after effects that will wow your audience.
If you are new to Adobe After Effects and interested to learn more on After effect techniques and like to experience and practice more on a professional level, please sign up today for our Arena Animation Course at Vadodara.
Click on below Video: How to Properly Composite Fog in After Effects The Easy Way
6 Steps to Compositing Fog in After Effects
Step 1: Adjust the Position and Scale
Place and Move your fog layer to the correct position in the composition and to scale your layer use the scale feature.
Step 2: Set an Adjustment Layer
Set a new adjustment layer. Then position the adjustment layer under your ‘Fog’ layer and set the track matte to ‘Luma Matte’. Your ‘Fog’ layer will disappear.
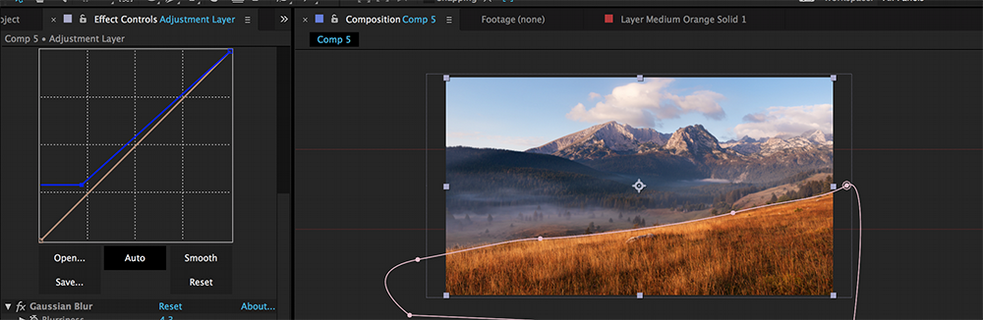
Step 3: Apply Effects to Adjustment Layer
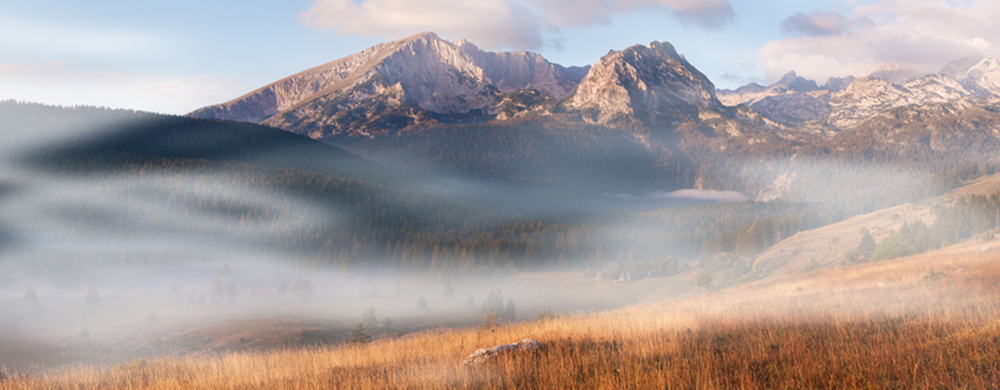
To create a realistic fog effect, make sure that the fog is not only colored but also that it affects the layers under it. To do this, we will probably want to desaturate, blur and lightly color the background layers where the fog overlays.
Apply a quick Hue/Saturation effect to the adjustment layer. Set the saturation down to -50 and the lightness up to 20. You should now start to see your fog layer showing up. So add the color in it.
When compositing is the curve effect add the effect in it. Now, it all depends on the color grade, but in most cases, you want to affect the blue channel. Then Switch to the blue channel and grab the bottom left point and bring it up to [9, 1.2]. Your fog should have a little bit of a blue tint in the shadow areas and lighter in the highlights.
The way you do color will depend on the view, but in general, you will always want to bring up the shadows and probably bring down the whites if the view is darker.
Finally, add a Gaussian blur to the adjustment layer. A value around 5 should do.
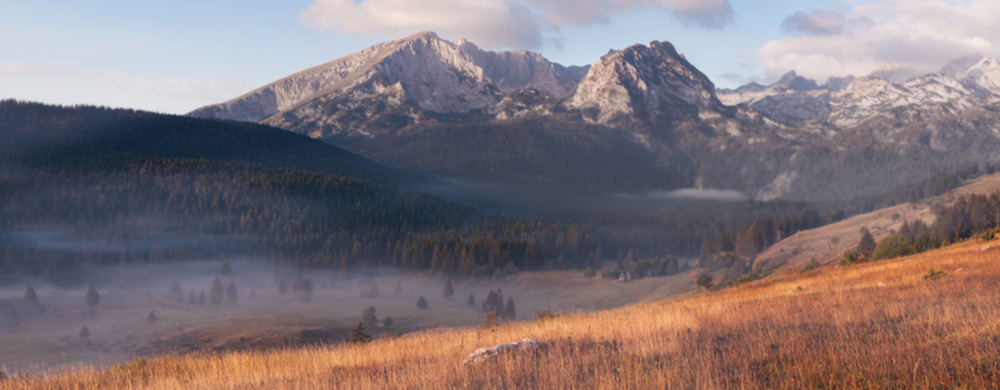
Step 4: Mask the Adjustment Layer
Mask out areas for the fog to sit behind. In our example, I’ll go ahead and mask out the hill in the foreground.
Step 5: Duplicate
For the excellent results, duplicate your ‘Fog’ and adjustment layer multiple times to create more realistic effects. An excellent way to sell your composite is to create a parallax effect where the foreground fog moves faster than the background fog, but it just depends on the individual scene and time limitations.
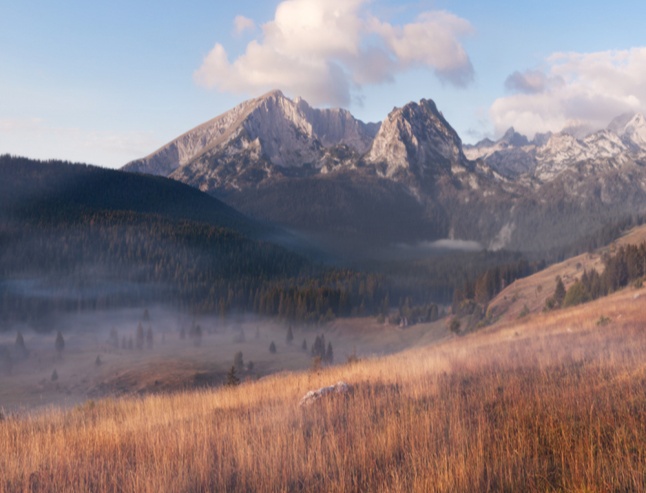
Step 6: Track It
If there is any movement in the footage, track it and apply the information to the ‘Fog’ Layers. Don’t need to apply the data to the adjustment layers, just the ‘Fog’ layers.
Click on below Video: How to Add Realistic Fog To Any Photo
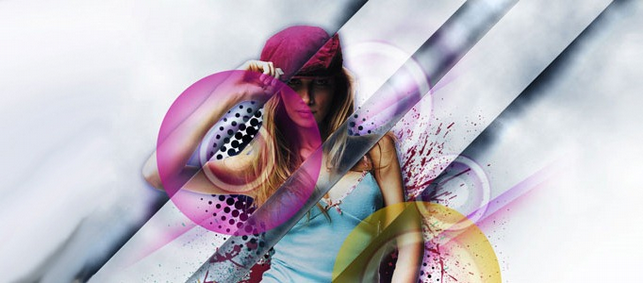
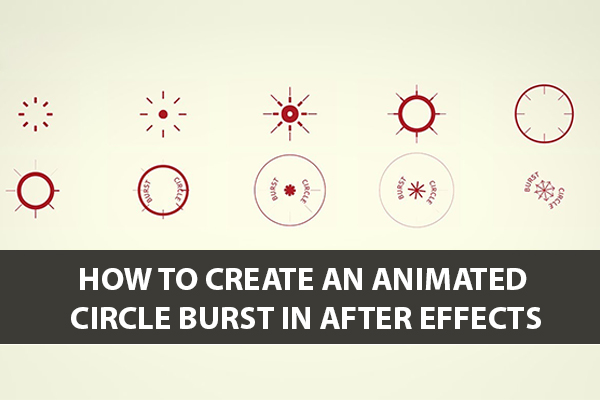
How to Create an Animated Circle Burst in After Effects
You can start these elements behind an animated logo to illustrate movement or add them to text graphics for amazing dynamic and interesting results. The circle burst is easy to create and it’s incredibly versatile. Let’s take a look step-by-step to create an animated circle burst in after effects.
Click on below Video: 4 Great Circle Burst Motion Graphics in After Effects
3 Steps to Create an Animated Circle Burst in After Effects
Step 1: Create an Ellipse
The first step is that we use the ellipse tool to create a simple circle. To get the look – turn off the fill and set the stroke to white with a width of 35 pixels. It’s important to centre the anchor point to the ellipse shape so that it will animate adequately.
If not centred then select the layer and go to Layer > Transform > Centre anchor point in layer content. Then use the Align panel to centre the circle within the composition. Now go to shape is prepped for animation.
Step 2: Animate the Shape
To create an animated circle burst, you need to animate two properties -“Stroke Width” and “Scale.” if you want the animation to be roughly one second in length, so add a sequence marker to visualize where to place the end keyframes quickly. First, animate the width of the stroke. If you want it to disappear, so animate the width from 30 down to 0. Next, you open up the “Transform” properties of the ellipse and animate the “Scale” from 0 to 100. It’s important not to animate the scale of the shape layer, as you want control over the attribute later.
To smooth out the animation and give it a natural look, change the first keyframes to “Easy Ease Out” and the last keyframes to “Easy Ease In.” Then next open up the graph editor and ramp up the speed at the start, slowing it down toward the end. Now it looks more like it’s following the laws of physics.
You can quickly make variations of animated circle burst by duplicating and slightly adjusting the keyframes or other settings. For example, you can change the scale of one or add a slight rotation. You can even add dashes to the stroke to give the burst a completely different look. Now it’s ready to bring these in and use them with other elements.
Click on below Video: After Effects Tutorial: Animated Circle Burst
Step 3: Incorporate in a Project
Add an animated title that you want to spruce up a bit. The text has a simple rotation and scale animation flying it onto the screen. Bring circle bursts in to add some extra movement and other details. For this particular graphic, place two large circle bursts behind the text. Parent the circle to the text, so it will follow the text as it moves, also add smaller circles on the edges of the text, parenting them to the text layer as well.
The key to making the animation work is tweaking each circle burst, making sure that they don’t match. It’s a simple rule of repositioning, duplicating and retiming. Repeat these steps until you get the desired look.
For students who are interested to learn more on Animated Circle Burst in Vadodara and would like to experience and practice on a more professional level, please sign up today for our Animation Course.
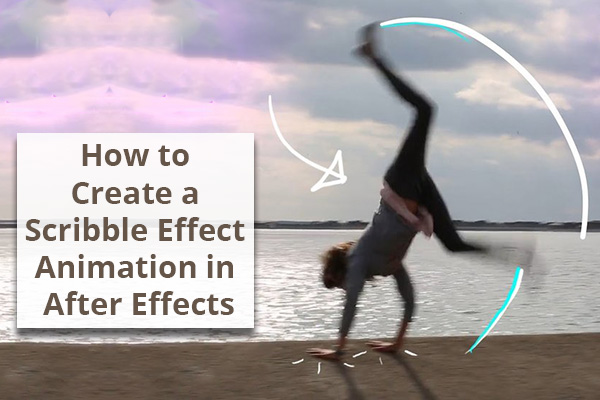
The Scribble effect is a simple animation that can be done in Premiere Pro or After Effects Software. Different software shows a different look and workflow. The animated scribble effect technique is a perfect example of an easy way to create dynamic and handmade graphic elements. In this Arena blogs post, we are going to take a look on a few simple steps to create a scribble effect animation in after effect software and you can add eye-catching graphics to your video.
Click on below Video: Animated Scribble Effect in After Effects 2018-2019
3 Steps to Create a Scribble Effect Animation in After Effects
Step 1: Arrange the Workspace
First, add some cartoonish flames that will come off the back of a race car. After that add the flames using the brush tool, which you can find it in the tools panel or by using the CMD (Mac) or CTRL (PC) + B Keyword shortcut.
This brush tool only works on the layer panel by double-clicking on the layer – You can’t click directly on the composition panel.
Click on below Video: Brush Tools in After Effect
Step 2: Prepare the Brush
Select the brush tool, both the paint and brush panels will become visible. These both panels offer a variety of options. The paint panel allows you to change the opacity, diameter, flow, color, blend mode and duration. Clicking on diameter button will bring you to the brushes panel, where you can specify the diameter, roundness, hardness, angle and spacing of brush. Even you can save the brush settings for future use.
One of the most important properties is the duration section of paint panel. This is a fast-moving clip, to animate flames as quickly and frenetically as possible. Due to this reason, you have to change the duration to “Single Frame.” If you want something a bit more subdued or clunky, then change the duration to “Custom” and then manually type in whatever frame rate you want. With both the workspace and brush ready, now it’s time to use the scribble effect animation inside adobe after effect.
Step 3: Scribble Effect Animation
To start Scribble Effect animation lets bring playhead to the first frame of the clip in the timeline. Using the brush tool directly on the layer panel, draw flames on the first frame. It’s not as simple as drawing the same flames for every frame. This particular clip is two seconds in length, shot at 25 fps, so if you want flames throughout the entire clip, then you need to draw these same flames 50 times. If you are going to create an animation that changes over time, it’s imperative to know the length of a clip so you can make subtle changes.
Knowing a few shortcuts will save your lots of time when creating a frame-by-frame animation. To quickly navigate by individual frames in After Effects, use the Page Up/Down keys. To resize the diameter of the brush, hold the Command (Mac) or Control (PC) key while you click and drag up or down.
Click on below video: Animated Music Video Scribble Effect in After Effects!
General Tips to Spice Up Scribble Animation
Trace an object.
Break up the lines. Have a smaller line or a dot follow a bigger line.
Draw an object that interacts/reacts with your footage.
For students who are interested to learn more on scribble animation in after effect and would like to experience more on a professional level, please sign up today for our Animation Course in Vadodara.
In the animation industry, there are many animation techniques among them one is the 3D animation claymation technique which we are going to teach you in this Arena Sayajigunj blog post. This type of animation consists of a malleable substance, usually clay which can be moved, animated and photographed, some of these techniques do require more skill and precision than others. Let’s get started with different types of 3D animation claymation techniques, a bit about how they are made and show a video of some final productions made with these techniques.
Claymation Techniques
Each character or object is sculpted from clay or other pliable material as Plasticine, around a wire skeleton called an armature and then arranged on the set, where it is shot in an interval for the next shot and so on until the animator has achieved the desired amount of film. Upon playback, the mind of the observer perceives the series of slightly changing, rapidly succeeding images as motion.
Click on below Video: How to make Wire Armatures for Stop Motion
A consistent shooting environment is required to maintain the illusion of movement: objects must be consistently placed and lit and work must continue in a calm environment.
For students who are interested in learning more on 3D Animation Claymation Techniques and would like to experience more on a professional level, please sign up today for our Animation Course in Vadodara.
Different Types of 3D Animation Claymation Techniques
1. Character Animation
This is the animation of the characters which are rigged with wireframe skeleton so shots can be precisely made this can assist when arcing moves which creates a more believable production.
Click on below Video: A Grand Day Out: Building A Rocket
2. Freeform Animation
Freeform is a widely used animation claymation techniques which are used creatively and it involves the clay changing form rapidly throughout the animation into almost any form. In this animation the idea is that there is no set in-between point, the animator has a starting point and an end point and how they achieve can usually be quite random and creative. A clay sphere, transforming into a vase and morphing into a human structure is an excellent example of freeform.
3. Strata-Cut Animation
Strata-Cut is not more in used claymation techniques in the animation industry, it involves an advanced technique to create, as the actual animation is first created within a block of clay, this is then sliced away, fractionally at a time and photographed this when played back, produces a fluid animation.
Click on below Video: Strata Cut Animation
4. Clay Painting Animation
Clay Paintings give a similar effect to a Strata Cut animation however clay is moulded and moved around a canvas which can create a bizarre effect. An excellent example of this type of animation is the “Mona Lisa Descending a Staircase” which demonstrates transitioning and similarities between artists work.
Click on below Video: Mona Lisa Descending a Staircase
5. Clay Melting Animation
Sub-Variation clay animation can be informally called “clay melting”. Any heat source can be applied on or near clay to cause it to melt while an animation camera on a time-lapse setting slowly films the process.
For example, consider Vinton’s early short clay-animated film Closed Mondays (co-produced by animator Bob Gardiner) at the end of the computer sequence.